Sherrie
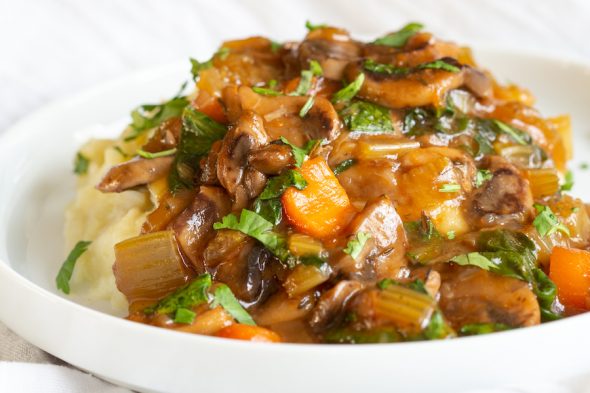
Vegan Richa’s Mushroom Bourguignon with Potato-Cauliflower Mash
Our friend Richa Hingle is a genius. She came up with a popular vegan bourguignon that is savory, hearty, and EASY! Like throw it all together in the Instant Pot in 30 minutes-easy! Sometimes we …
View Full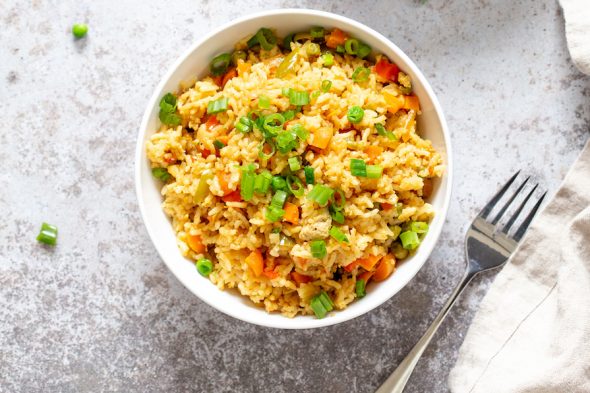
Vegan Richa’s Instant Pot Fried Rice
Fried rice is an easy satisfying meal and using an Instant Pot makes it even easier for days when we are short on time. It is also a great way to use up any leftover …
View Full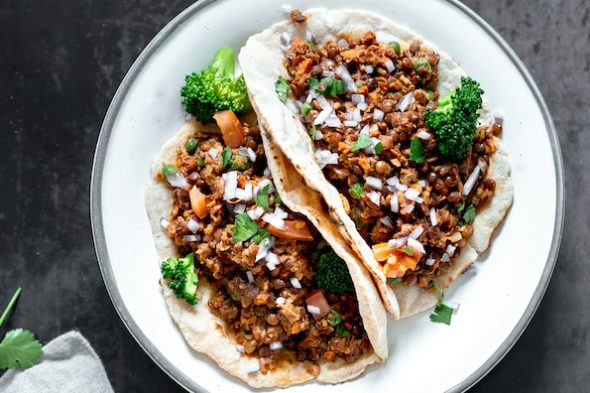
Vegan Richa’s Instant Pot Lentil Keema with Peas
We love using our Instant Pot! It’s useful for so many recipes, and can be used any time of the year. We especially love using it during the hot summers when you don’t want to …
View Full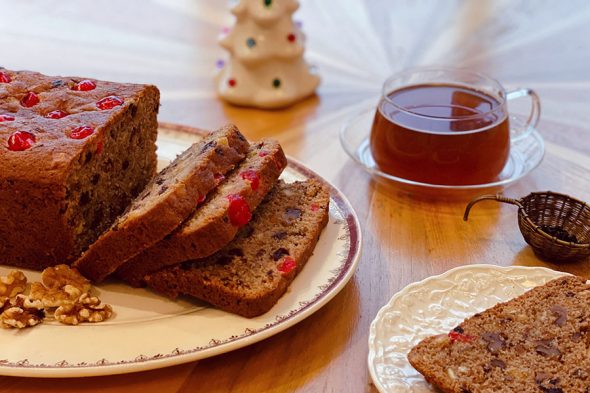
Grandma’s Applesauce Fruitcake
This recipe has been in our family for decades. The base of this Applesauce Cake is extremely versatile and can be modified to any taste. We decided to add candied orange, dried cherries and Gingerbread …
View Full
Chewy Lemon & Blueberry Mace Oatmeal Cookies
The fall colors and weather are here, and there’s nothing better to come home to than a warm home flooded with the scent of freshly baked cookies. My grandmother used to make oatmeal cookies with …
View Full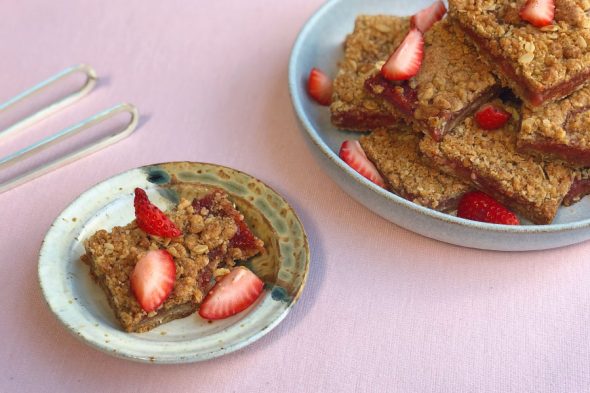
Pink Pepper Cardamom Bars
Rhubarb is a perfect flavor combination with strawberries. To jazz it up, we added spices! Piney cardamom and lime zest accent and elevate the fruit base. Crunchy walnuts add texture and to the oat crumb …
View Full
Puerco Pibil
Puerco Pibil is an unforgettable dish, and the time and effort to make it is worth every minute. The meat is marinated in a combination of citrus juice and achiote paste, then roasted in banana …
View Full
Achiote Paste
Fun alert! Spices offer so many ways to play with flavor and texture, and making achiote paste is a great one. Made with a combination of annatto seeds, spices and a little bit of liquid …
View Full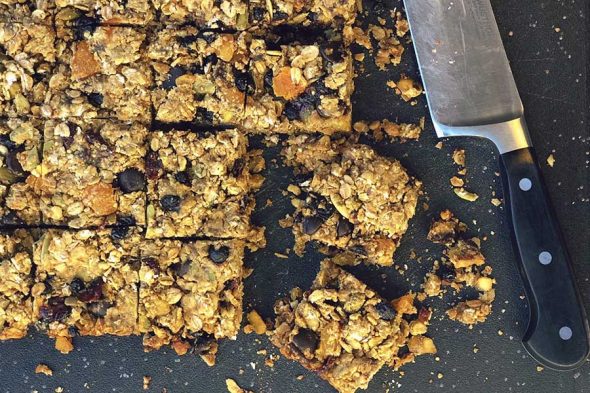
Kashmiri Curry Breakfast Cookies
Cookies for breakfast? Why not, especially these hearty, healthy and nutritious bars. Packed with coconut oil, chia seeds, quinoa and…white beans. Yes, these contain pureed white beans for that extra boost of protein to get …
View Full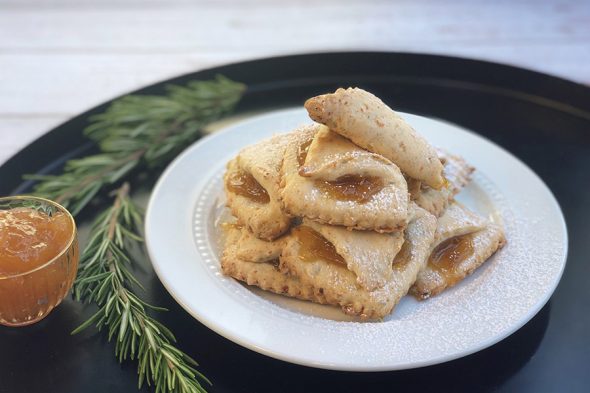
Rosemary Cottage Cheese Cookies
Vintage cookbooks offer up some curiously great recipes and this one from the 1930’s is no exception. Cottage cheese cookies are an intriguing prospect and in this case grandma DID know best- the resulting dough …
View Full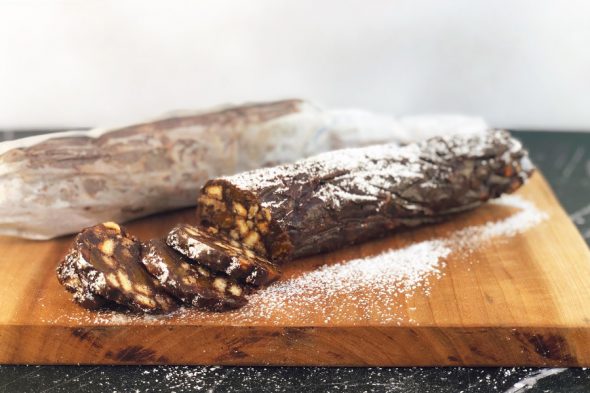
Qalat Daqqa Chocolate “Kielbasa”
This recipe was inspired by the chocolate kielbasa in Kachka, a cookbook from the Portland, Oregon restaurant of the same name. We first tried it at a Tom Douglas Cookbook Socials and were instantly taken …
View Full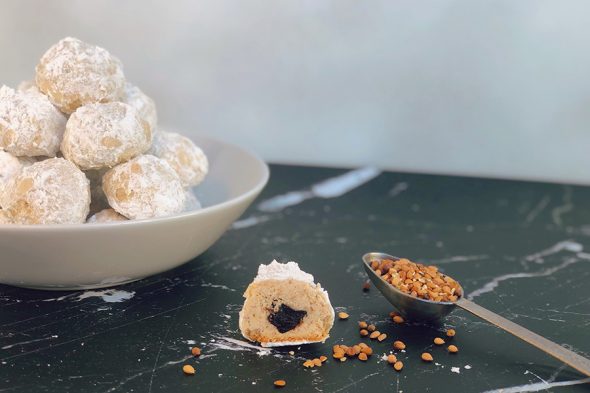
Mahlab Cherry Almond Balls
Mahlab, a spice derived from the pit of the Mediterranean St. Lucie cherry, tastes strongly of cherry and bitter almond, with more elusive floral and vanilla notes. In our search for a cookie that would …
View Full
Baharat Chewy Molasses Cookies
Molasses cookies are such a treat. Delightfully moist and delightfully chewy, there’s no other cookie quite like them. You’ll find a wide range of recipes for these sweet and spicy snacks, containing ingredients ranging from …
View Full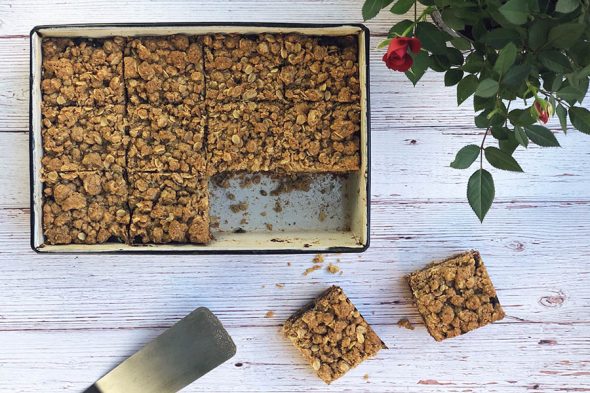
Advieh Date Bars
Dates deserve more credit! They have a rich, fruity taste, similar to a raisin, with a honey or caramel sweetness. It’s a versatile flavor, making them fantastic in all sorts of food. Growing up, I …
View Full