Appetizer
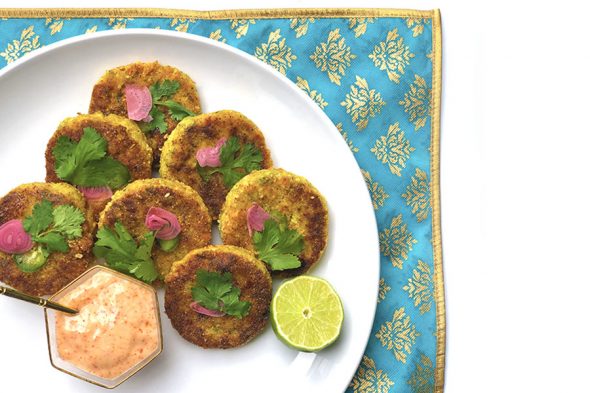
Kala Masala Shrimp Cakes
October 2, 2020 / Jamie
Kala Masala is an Indian spice blend, named for the dark color of its ingredients, which are often toasted before use. Sweet spices like cloves and tangy amchoor make this blend an excellent seasoning on …
View Full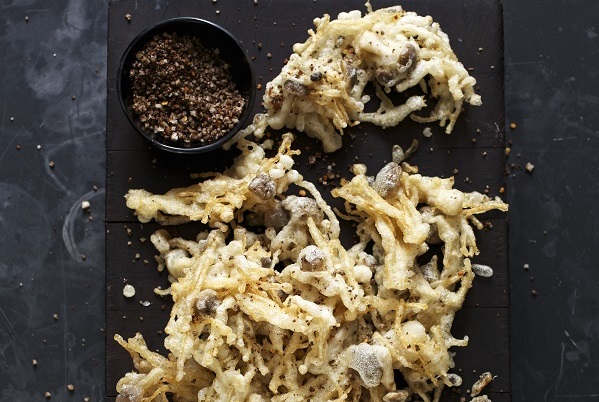
Szechuan Crisp Fried Wild Mushrooms
February 25, 2017 / Sherrie
Coming out of such a vast country, authentic Chinese home cooking means different things to different people. This gorgeous Szechuan Crisp Fried Wild Mushrooms recipe from our March 2017 Cookbook Club featured book, Phoenix Claws …
View Full